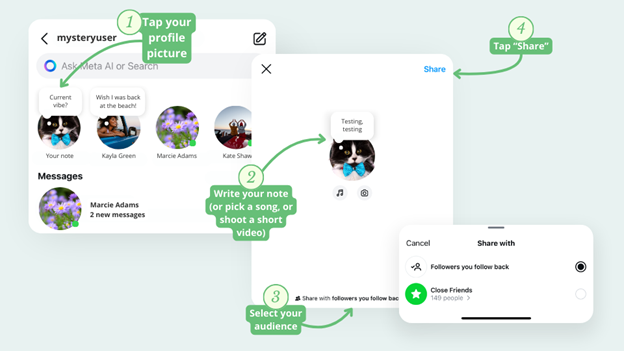
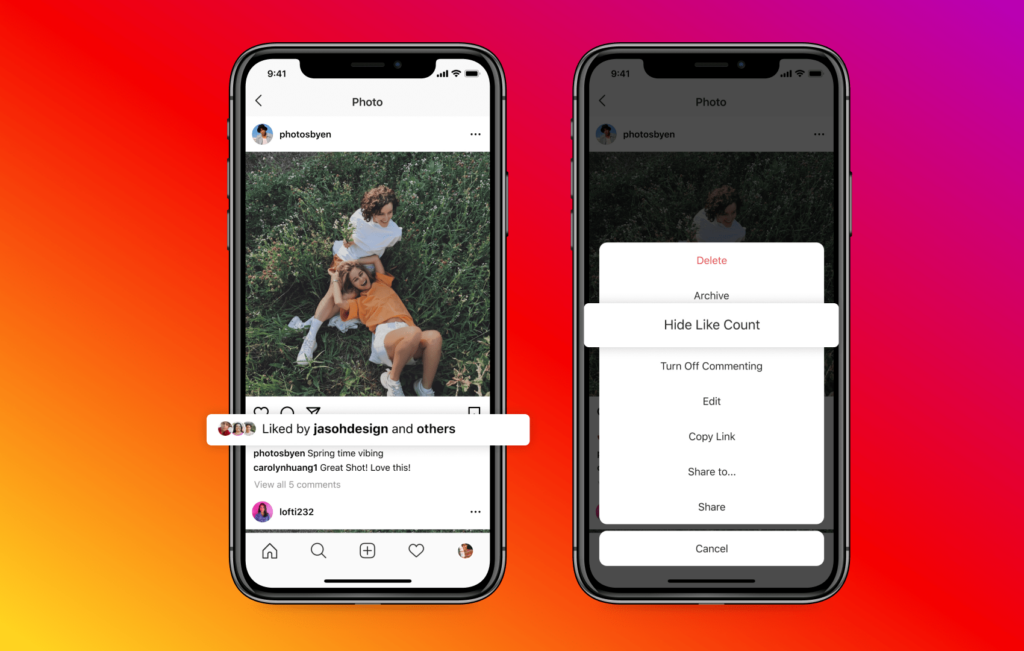
Have you been on Instagram? Do you know how to create & post Instagram stories? Instagram has become a powerful tool for all businesses, influencers & everyday users to engage with their followers, updating them about their day-to-day lives.
Instagram stories were used as a fun way to interact with followers and friends. But now, it is so much more than that.
As of now, it is the best yet creative way to connect, share, and showcase your services/brand/product. The more you share, the more you are likely to get recognized and get organic traffic.
Let’s navigate to the world of Instagram stories & explore how to create Instagram stories and use them to your advantage.
Page Contents
What Are Instagram Stories?
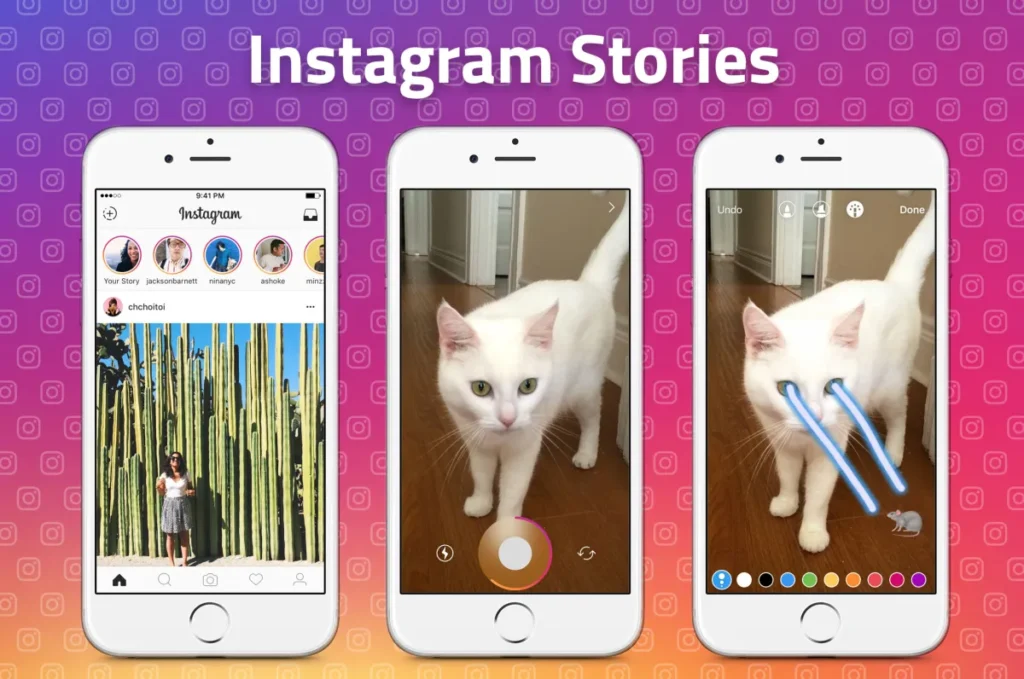
Have you seen the colorful circles appear at the top of your profile photo? This is when you know that your story has been posted and is ready for your followers to watch—however, Instagram stories- which are short, ephemeral posts that disappear after 24 hours.
Instagram stories are the best way to share somewhat more casual content, updates, and BTS moments without ruining your aesthetic feed.
To add more fun – From polls & questions to links & GIFs, Instagram stories offer a variety of interactive features to engage with your followers.
Fun Fact: Did you know that over 500 million people use Instagram stories every day? This shows a lot of potential engagement.
But how do I use Instagram stories to create engaging & effective content? Well, let’s figure this one out!
Best Tips & Tricks to Use Instagram Stories to Create Engaging Content
Follow these tips and tricks to use Instagram stories to your advantage;-
1. Always Begin with a Strong Hook
The first few seconds of your story are crucial, and it is the time when you can grab attention. Remember that your competition is with other content on Instagram, so you have to stand out.
Cause remember, if your story is not interesting, then your followers are gonna – to tap on the next one and leave.
Always think of your first story as the hook. It can be anything: a fun question, a bold statement, or even a surprising fact; always make sure that it is something that intrigues your viewers to keep watching and wanting more.
For Instance:
Use these statements in your stories;-
- What’s coming next? Can you guess where I am visiting next? Use these sorts of phrases to gain more insights.
- I bet you did not know this, or I bet you did not see this one coming!
Pro Tip: Always use vibrant colors, bold text & animated effects to make your first frame eye-catching.
2. Tell a story Through Your Stories
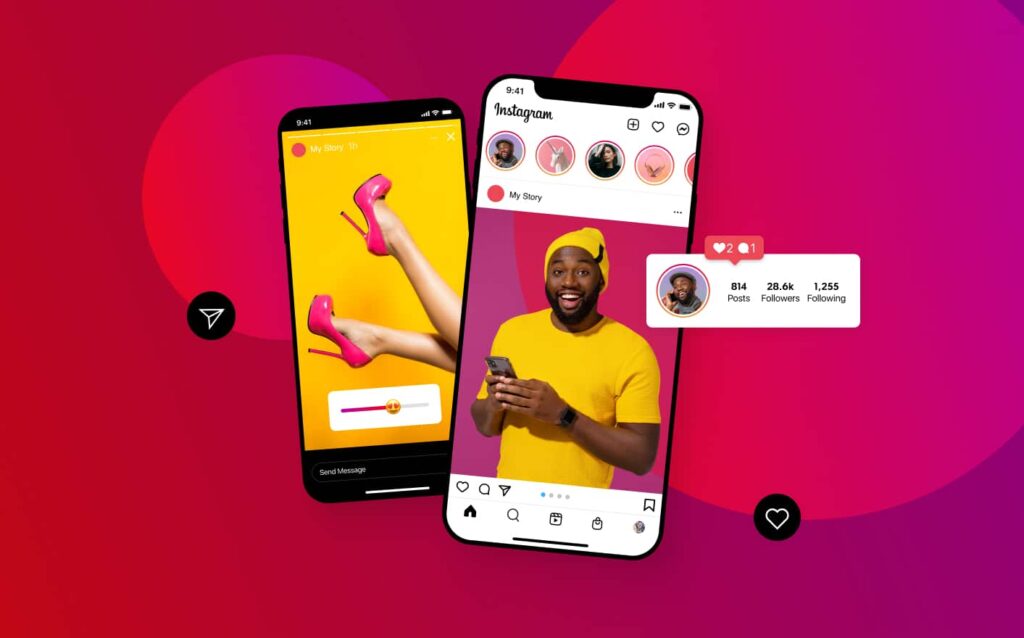
Instagram stories are often called stories for a reason – they allow you to tell your story ( any story).
This is how it should be done – Instead of posting random moments, try to create some narrative.
While creating a story, make sure that it flows well with your storyline. Begin with an introduction & build some engagement in the middle, and end it with a strong call to action button.
Again, it can be anything: a question for your audience, a link to a blog post, as well as an invitation directly to your DM for more generated information.
3. Use More Stickers & Other Features
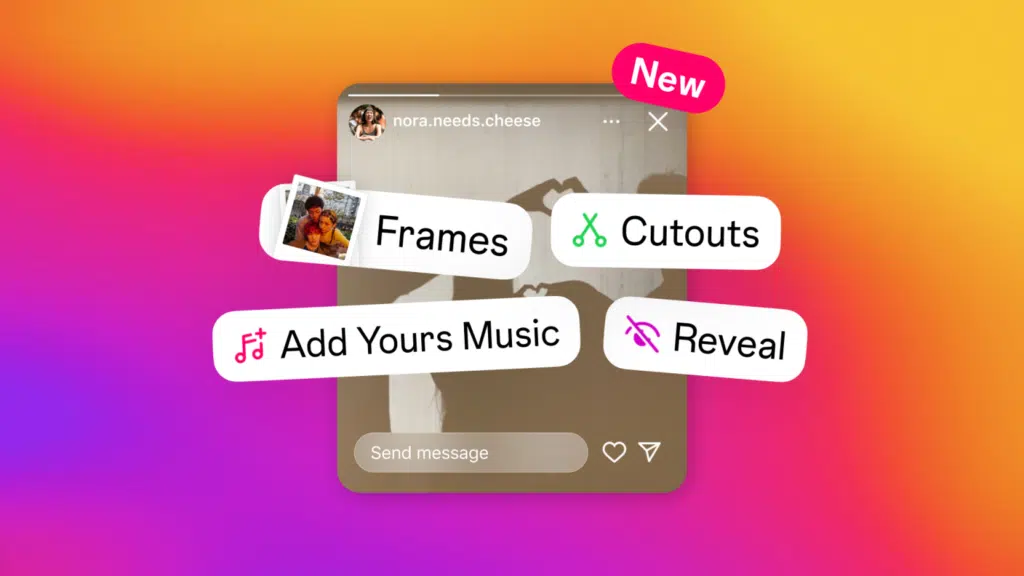
Next, one of the coolest yet exciting features of Instagram stories is the interactive features that you can use. All the features, such as Polls, questions, quizzes & even countdowns and sliders, can help keep your audience engaged & make your content feel even more interactive.
Pro Tip: Responding to comments, answers, or poll results is one of the best ways to engage your followers and help build lasting relationships.
4. Keepin’ it Real
Another great aspect of using Instagram stories to your advantage is showing the real & unfiltered side of you, your brand & your life to your followers.
The audience loves authenticity, and by sharing the raw, BTS moments are the most engaging ones.
By doing this, people would want to connect with you, not just the polished version of your brand. In the meantime, you can feel free to share the moments of imperfection.
5. Use Hashtags & Location Tags
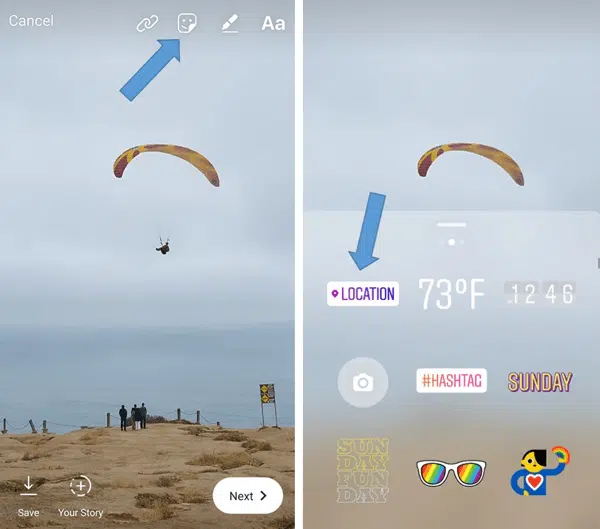
Hashtags & Location tags are essential if you want to increase your reach. Whenever you use hashtags that are relevant to your business, industry, or audience, then your story can show up on the explore page or in the hashtag search.
Remember that Location tags are just as powerful & useful as other features. Simply tagging your location can attract more people from your area, which is helpful if you are a business owner.
Pro Tip: Always a combination of popular & niche hashtags. Keep in mind that popular hashtags have a broader reach, while niche hashtags tend to attract a more targeted audience.
6. Use Story Highlights For Your Audience
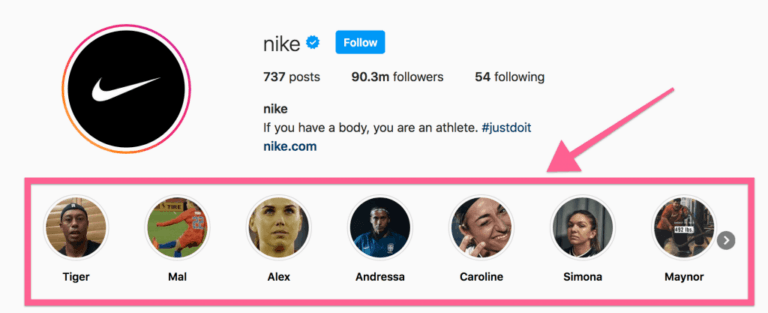
An Instagram story disappears after 24 hours, and then it is gone forever. In the meantime, you can save your best stories as highlights on your profile. Therefore, this is the best way to showcase all of your content or evergreen topics for your audience to watch and repeat at any time.
What you can highlight:
- It can be your Product launches
- Client Reviews
- BTS Content
- Special Offers & Promotions
Pro Tip: Give your Instagram highlights custom covers to make them appear visually appealing.
7. Update Your Story Regularly

Consistency is key when it comes down to your Instagram stories. That is why posting regularly on your Instagram stories might help you stay ahead of your competition and gain more followers.
Try to find a balance amid chaos. Posting once or twice a day will be a good starting point. If you want to keep your content fresh, then you do not want to flood your follower’s feeds with too many updates.
Tip: Opt for Instagram’s Insight feature to track down when your followers are most active & then schedule your posts accordingly.
8. Create Visual Appeal with Creative Tools
Instagram does offer a variety of creative tools to enhance your stories. You can opt for filters, stickers, text, GIFs & drawings to make your content pop. However, these types of features will help your stories stand out & make them even more visually appealing.
Pro Tip: One can use Instagram’s Boomerang feature to create looping videos or use the Superzoom feature to add drama to a moment.
Conclusion: Make Your Stories More Fun & Stand Out
Instagram stories are an essential tool for anyone who is looking forward to engaging with their fellow audience on a deeper level and building long-term relations. However, by following the given tips and tricks, one can use Instagram stories to connect with their followers, promote their brand, and have a little fun with the procedure.
Always remember that your stories should reflect you. Whether it’s personal or professional, make sure your content is true to your brand and your audience. So go ahead, get creative, use those stickers, and watch your engagement go upward.
So, what are you waiting for? Have fun creating Instagram stories & get engaged with your followers!

